Looks like you're located outside the continental United States!
While we can't ship Royal NY Line Up boxes to you through our website, our team of coffee traders will be happy to help place your order and secure the best shipping rates for you.
Please note that if you have other items in your cart such as tea or tickets to an event at The lab, you will not be able to proceed to payment until all 22lb. boxes have been removed from your order
Looks like you're located outside the continental United States!
While we can't ship Royal NY Line Up boxes to you through our website, your coffee trader will be happy to help place your order and secure the best shipping rates for you.
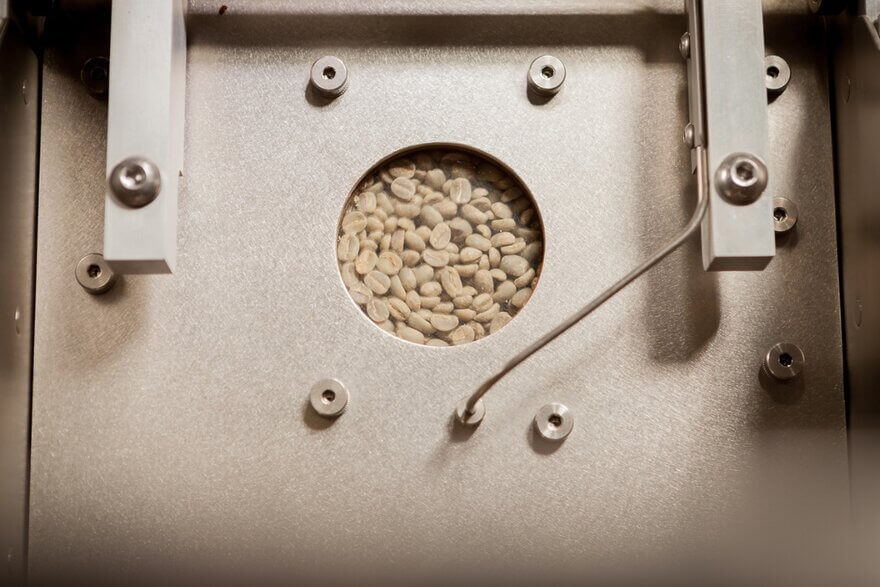
Roasting coffee can be a fun and exciting hobby that gives you more control over the coffee you drink and saves you money! Green coffee is relatively cheaper than roasted coffee, although it will likely take quite a few batches for you to master your home-roasting skills. For the methods listed below it is important to be in a well ventilated area – that could mean opening all the doors and windows or finding a way to roast outside. The coffee roasting process is incredibly smoky, even if your goal is to produce a light roast. This process does get very hot, so it is important to be vigilant and cautious, and you should always have a fire extinguisher nearby, even though the chances of needing it are very slim.
You will hone your skills faster by roasting several batches of the same coffee and perfecting it, as opposed to continuously roasting different coffees. Once you have one coffee dialed in, try to perfect a roast for a different coffee. Before you know it, you’ll have 4-5 different roast profiles under your belt, and you can apply them to all different coffees. This will make it easier to rotate between origins, varieties, and processing styles more quickly!
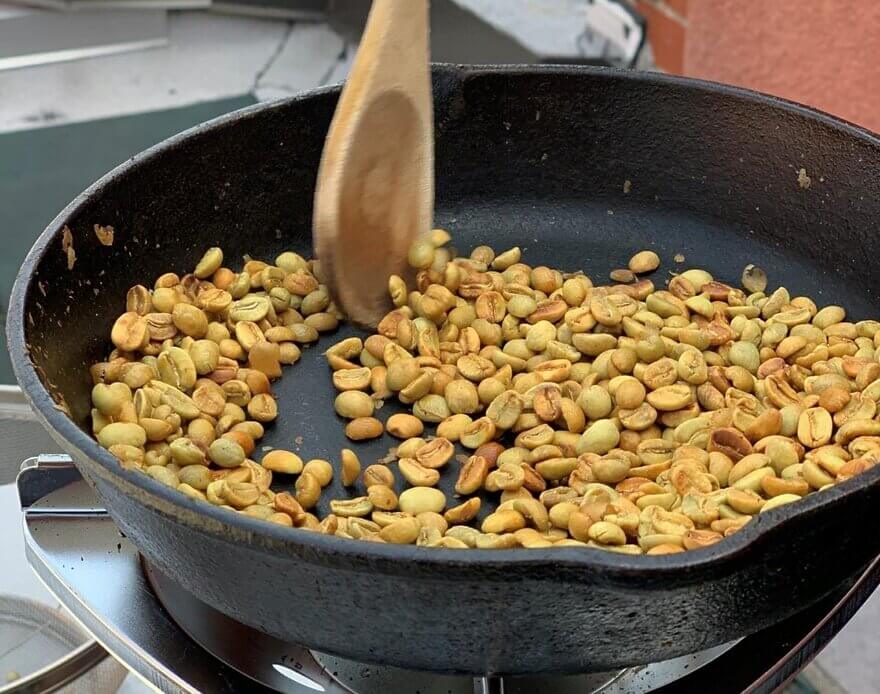
Cast Iron Pan
What you will need: Green Coffee Stovetop or Barbeque Cast Iron Pot or Pan Wooden Spoon or Whisk Metal Strainer or Bowl Scale Thermometer
Step 1: Before heating the pan, figure out how much coffee you will need. This is highly dependent on the pan or pot you will use. Use just enough to cover the surface of the pan in a thin layer 1 bean deep, about 150g in a 7″ pan or 225g in a 10″ pan. Step 2: Preheat the empty pan over medium-high heat until it is about 400 degrees. If you do not have a thermometer, add a few drops of water and if they boil immediately, you should be good to go. If the pan is smoking, it is probably too hot. Step 3: Add the predetermined amount of green coffee to the pan, shake the pan back and forth to quickly distribute the beans evenly across the bottom surface. Start the timer and begin stirring immediately. Step 4: Stirring the coffee is important for even roasting and to avoid scorching and tipping. Stir the coffee in consistent spiral motion so that all sections of the pan are turned every second. It is also helpful to lift the pan and shake the beans regularly to redistribute them across the surface, every 10-15 seconds or so.
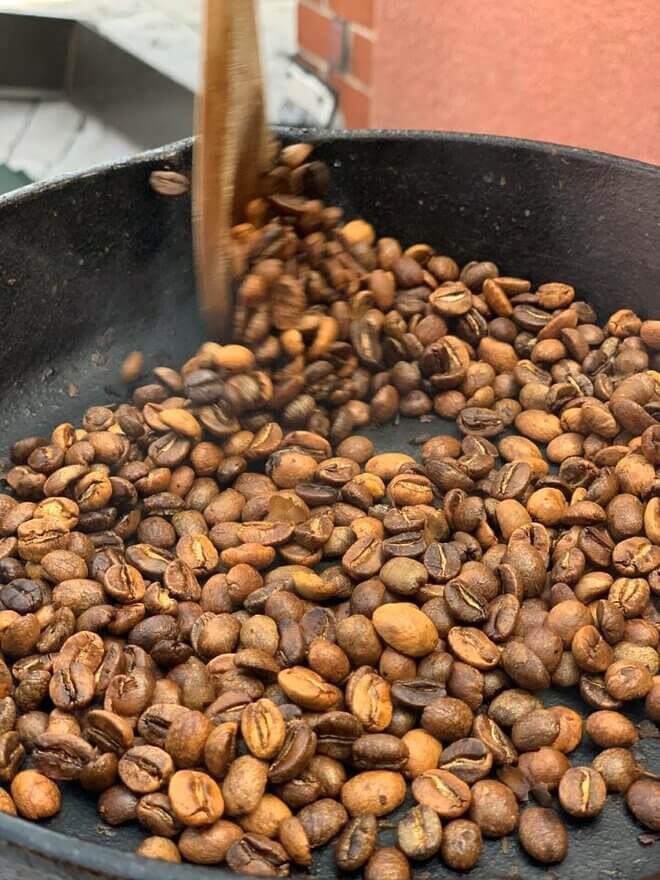
Step 5: The roast should progress in a manner that the coffee changes color to yellow around 4:00-5:00, turns completely brown between 6:00-7:00 and begins to “crack” or pop like popcorn between 8:00 and 9:00.
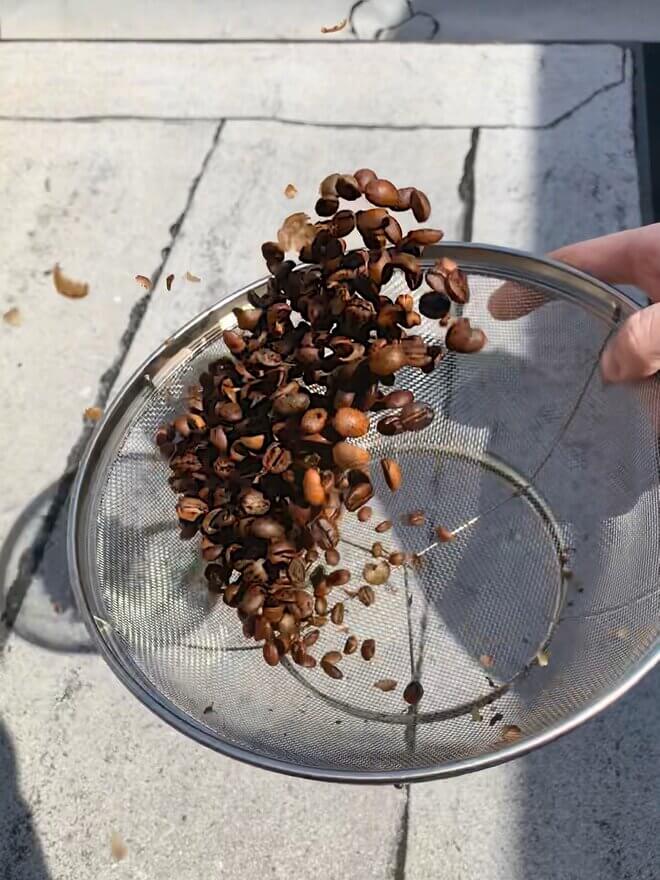
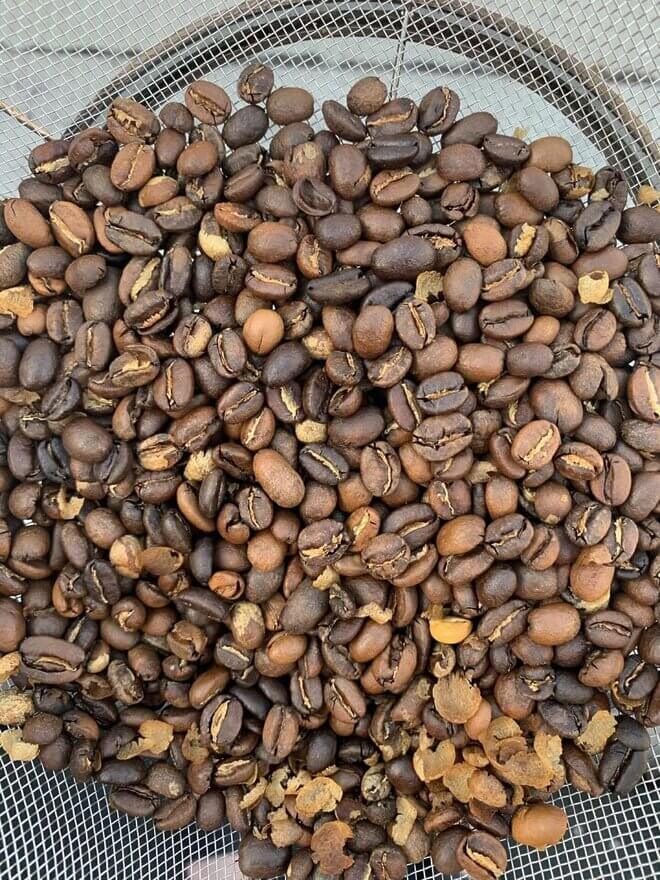
Step 6: Now that the coffee is cracking, we are nearing the end of the roast! For a light roast, reduce the heat and end the roast about 1:30 – 2:00 after the crack is rolling. For a darker roast, do not reduce the heat and end the roast 2:00- 2:30 after the cracks are rolling. The ground beans will be lighter than the whole beans, keep that in mind when deciding when to end your roast. Step 7: Empty the coffee from the pan into a metal strainer or colander. Continue to stir or “toss” the beans until they are cool to the touch
If the coffee took too long to reach first crack, try using a higher gas setting throughout the roast and vice versa. This style will always be somewhat uneven, and scorching is almost unavoidable. Take the time to remove any clearly yellow and under roasted to beans to make sure they do not damage your grinder. Removing any black or clearly scorched beans will make a large difference in increasing the quality of the final cup.
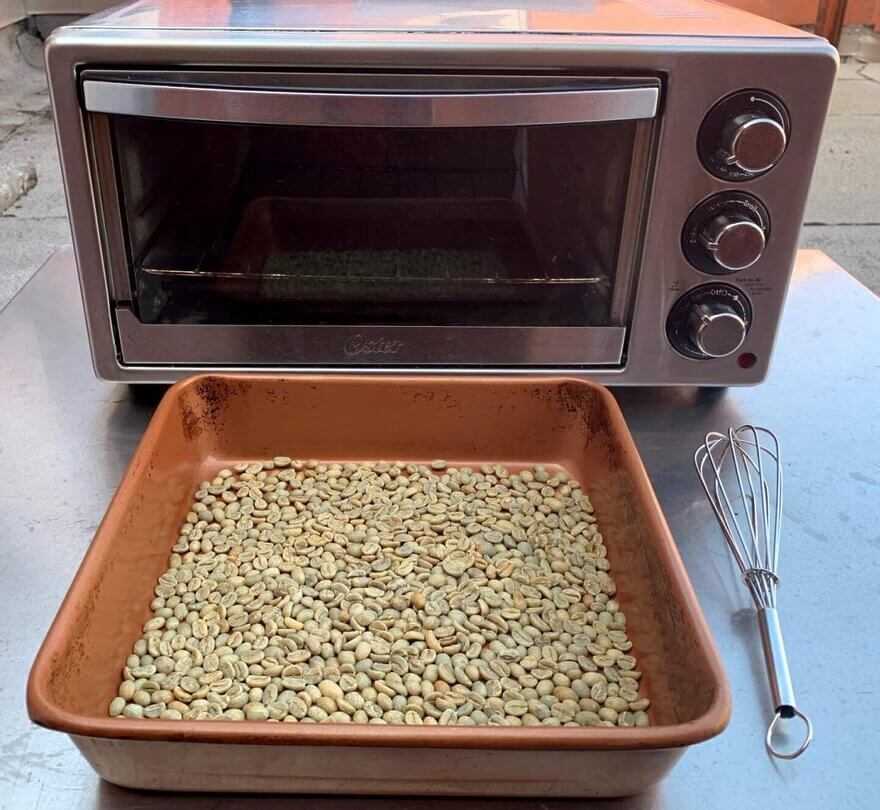
Baking Sheet in the Oven
What you will need: Green Coffee Baking Sheet Wooden Spoon Metal Strainer or Bowl Scale Thermometer Timer
Step 1: Before heating the pan, figure out how much coffee you will need. This is highly dependent on the pan you will use. Spread out the coffee over only the perforations in the baking sheet, so that it is in a thin layer 1 bean deep.
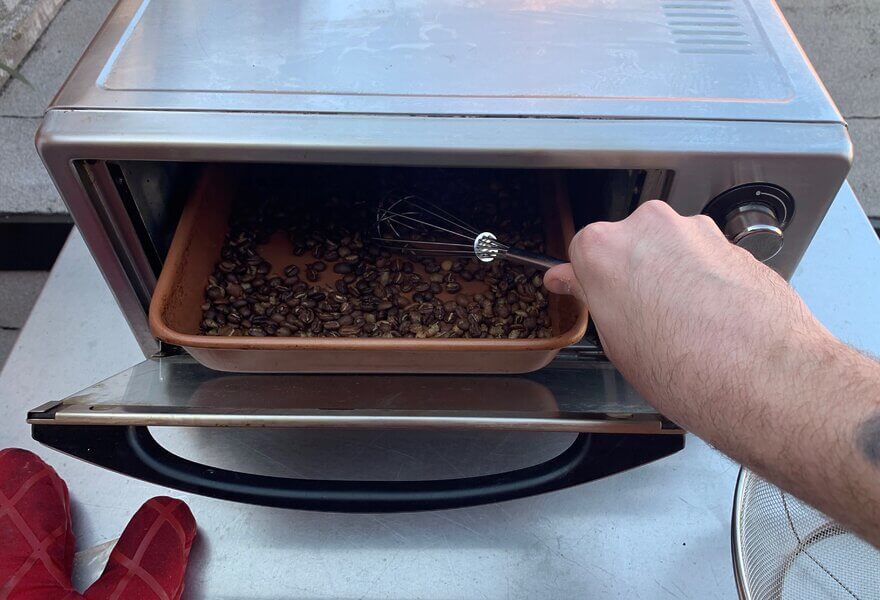
Step 2: Remove the coffee from the baking sheet and place the baking sheet in the oven on the middle rack. Preheat to 400-500 degrees on bake or convection bake, do not broil the coffee. This temperature will depend on your oven and you will need to adjust the temperature based on trial and error. Step 3: Once the baking sheet and oven are preheated, remove the baking sheet and spread the coffee evenly across the perforations and place back in the oven. Start the timer. Step 4: The roast should progress in a manner that the coffee changes color to yellow around 4:00-5:00, turns completely brown between 6:00-7:00 and begins to “crack” or pop like popcorn between 8:00 and 9:00. If you are not using a perforated baking sheet, it will be necessary to use a spoon or whisk to turn your coffee every few minutes.
*Stirring may be best with a wooden spoon to avoid any risk of electric shock*
Step 5: Now that the coffee is cracking, we are nearing the end of the roast! For a light roast, reduce the heat by opening the door slightly and end the roast about 1:30 – 2:00 after the crack is rolling. For a darker roast, do not reduce the heat and end the roast 2:00- 2:30 after the cracks are rolling. Step 6: Empty the coffee from the pan into a metal strainer or colander. Continue to stir or “toss” the beans until they are cool to the touch
Roasting in the oven will generally produce more even results than when using the cast iron pan, but it is less hands-on and exciting. There will also be less conductive heat transfer when compared to the cast iron method resulting in a different flavor profile. Try both methods, and see what works for you!